Modified on Tue, 16 Dec, 2025 at 3:58 PM
MOD Color Display | User Guide
In this article: You’ll learn how to use every screen and menu option on your MOD Color Display.
This includes the three main riding screens, how to navigate between them, and how to adjust all display settings such as units, brightness, password lock, riding modes, time, auto headlight, helmet pairing, and more.
This guide applies to all MOD BIKES equipped with the color display.
This Article Applies to the Following Bikes
Difficulty
★☆☆ Easy
Estimated Time
5 – 10 Min
Before You Start
Preparation
- Make sure your bike is safely parked.
- Power on the display by holding the i (power) button.
- Use +/– and i (center) buttons to navigate.
Main Riding Screens
When you power on your bike, the display defaults to Screen 1. Press the center i button to toggle between:
Screen 1 – Main Riding Screen
Screen 2 – Metrics & Live Graph Screen
Screen 3 – Overall Summary Screen
Screen 1 – Main Riding Screen
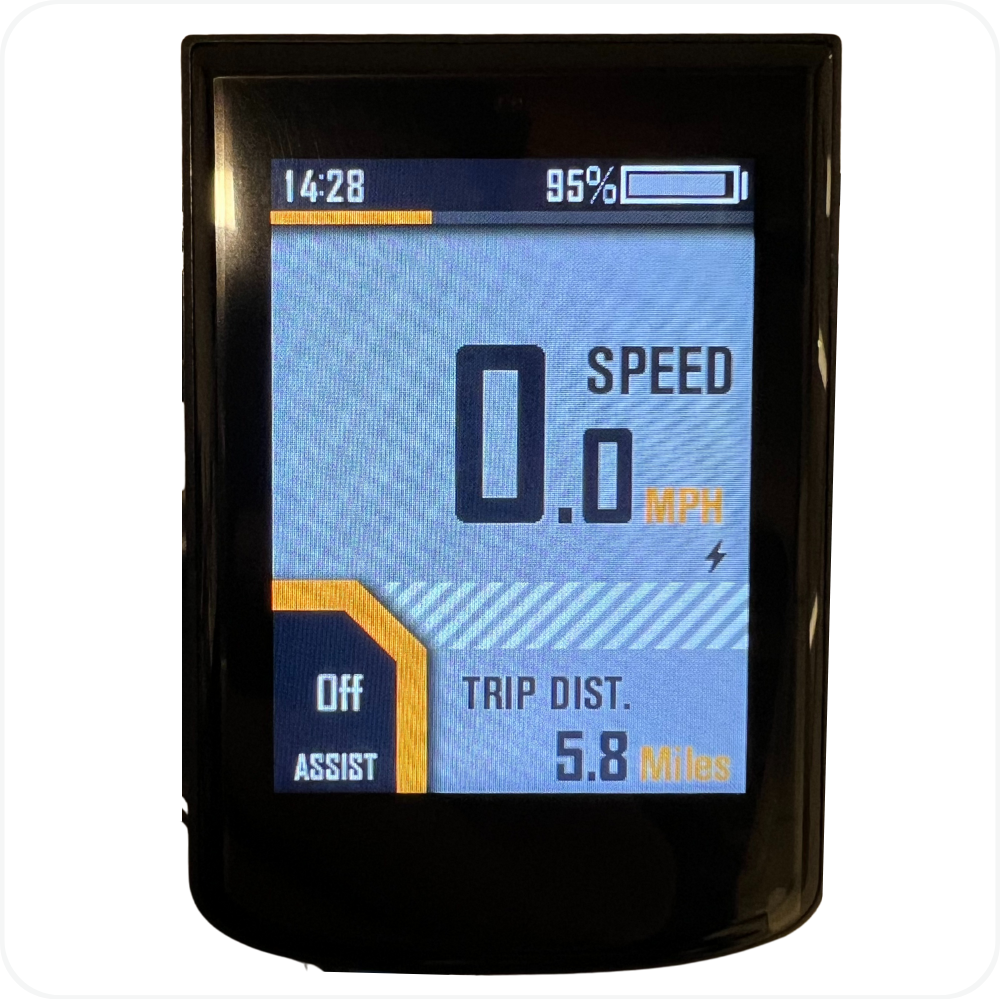
Displays:
Speed (mph or km/h)
Battery level
Time of day
Assist Level (Off, Fit, Eco, Cargo, Sport, Turbo) Use the +/– to scroll between options
Trip Distance
This is the default riding view.
Screen 2 – Metrics & Live Graph

Displays:
Ride Time
Speed
Power Output (W)
Calories Burned
Live Power Graph
Trip Distance
Press i again to move to the next screen.
Screen 3 – Overall Summary (Trip Stats)

Displays:
Trip Distance
Trip Time
Average Speed
Max Speed
Calories Burned
Total Distance (Odometer)
Press i once more to return to Screen 1.
How to Open the Menu
Hold +/– together for 3 seconds to open the Main Menu.

You will see:

Clear Data
Setup
System Info
Connect to App
Back <
Menu Options
Use the +/– to scroll between options, then press i to select one.
1. Clear Data

Screen Options:
Trip Distance – Trip data including distance, ride time, maximum speed, average speed, and calories burned.
Back <
Selecting Trip Distance opens a confirmation screen:

Clear Trip Dist.?
Yes
No
Clearing trip distance also resets:
Trip Time
Max & Avg Speed
Calories Burned
2. Setup

The Setup menu includes:
Auto Headlight
Set Unit
Adjust Riding Modes
Bind Helmet
Set Password
Set Brightness
Auto Power-off
Set Time
Back <
Below is each submenu in detail.
Auto Headlight

Yes → Headlight turns on automatically when the bike powers on.
No → Headlight must be turned on manually.
Set Unit

Choose:
Metric – Km
Imperial – Mile
Affects speed, trip distance, and total distance.
Adjust Riding Modes
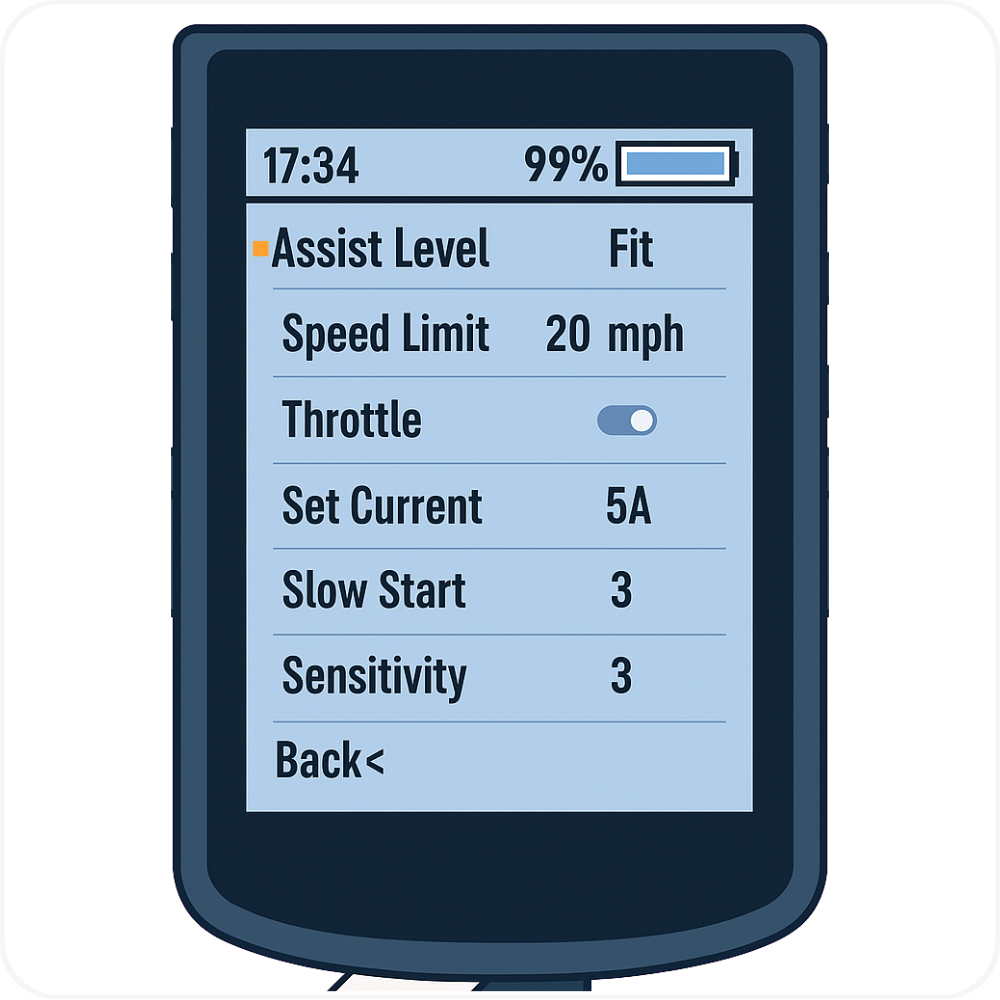
This menu allows you to customize each pedal assist mode (Fit, Eco, Cargo, Sport, Turbo).
The first screen will show the Fit assist level with its parameters. Highlight Assist Level and press i to activate selection.
Each mode includes:
- Assist Level – Adjusts settings for the selected pedal assist level.
- Speed Limit – Sets the maximum speed allowed for this specific assist level.
- Throttle On/Off – Enables or disables throttle use for this assist level.
- Set Current (A) – Controls the maximum power output for this assist level.
- Slow Start (1–3) – Determines how quickly the motor ramps up power.
1 = fastest acceleration
3 = slower, smoother acceleration that helps conserve battery
- Sensitivity (1–3) – Adjusts how responsive the torque sensor is.
- 1 = most sensitive, power engages quickly
- 3 = less sensitive, power engages more gradually
Press i to select each field, then use +/- to adjust.

Riding Modes Default Settings
| Assist Level | Speed Limit | Throttle | Set Current (A) | Slow Start | Sensitivity |
|---|---|---|---|---|---|
| Fit | 20 mph | Off | 5 | 3 | 3 |
| Eco | 20 mph | On | 10 | 2 | 2 |
| Cargo | 28 mph | On | 17 | 1 | 3 |
| Sport | 28 mph | On | 20 | 2 | 1 |
| Turbo | 28 mph | On | 22 | 1 | 1 |
Bind Helmet

Used for pairing a Lumos helmet with MOD Connect.
Options:
Bind New Helmet → Starts pairing process
Bound Helmet → Confirms there’s a paired helmet
Set Password

Enables a startup PIN for your display.
Options:
Password toggle
Turning ON prompts you to create a 4-digit PIN
The display will ask for this PIN every time the bike turns on
Change Password
Update to a new 4-digit PIN
Set Brightness
Adjusts screen brightness from 1 to 5:
Use + to increase
Use – to decrease
Press i: SET to confirm
5 = brightest
1 = dimmest
Auto Power-off
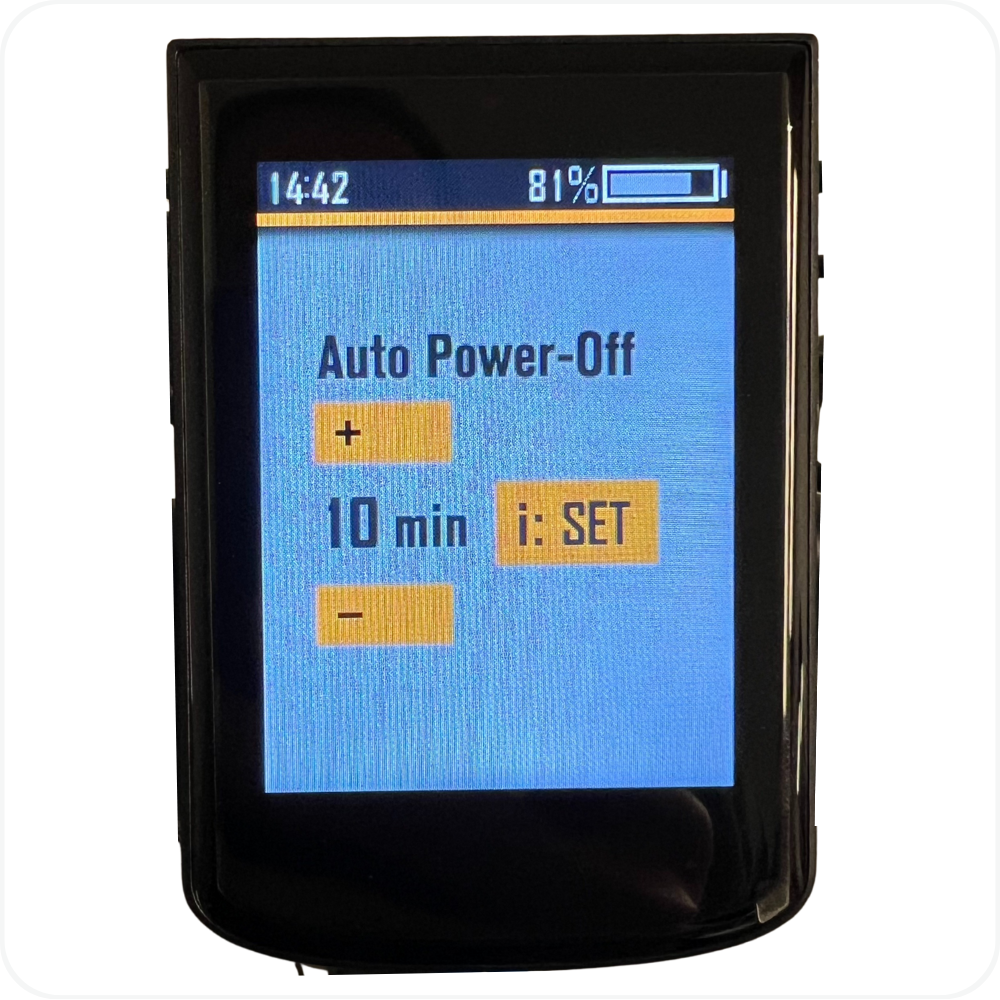
Automatically shuts off the bike after inactivity.
Adjustable from:
1 minute → 10 minutes
Use + / – to set time
Press i: SET to confirm
Set Time

Adjusts the time of day.
Shows current time in 24-hour format
Use the up arrow to increase
Use the down arrow to decrease
Press i to save
3. System Info
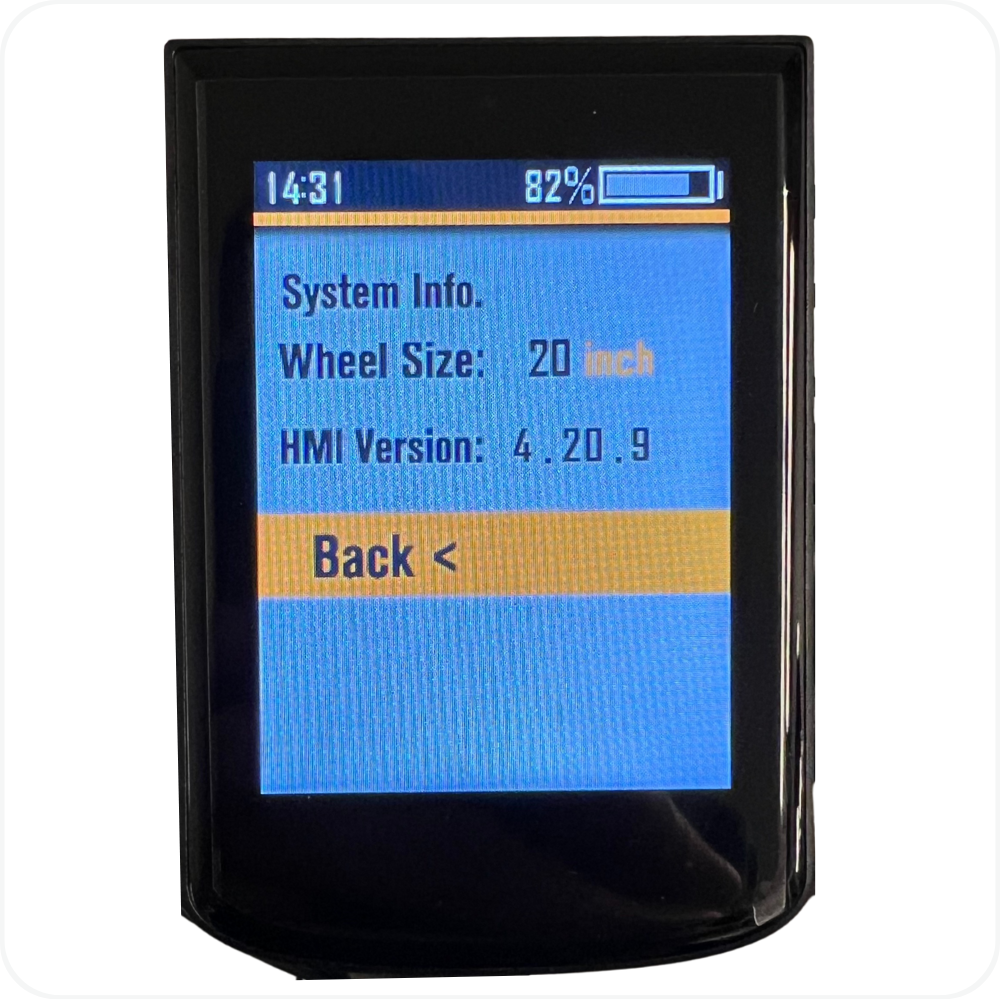
Displays:
Wheel Size: (e.g., 20 inch)
HMI Version: 4.20.9
Back <
4. Connect to APP

Displays a QR code for pairing with the upcoming MOD App (currently under development and not yet available).
Troubleshooting
- Display won’t turn on → Check battery connection and ensure the battery is powered ON.
- Display won’t save menu changes → Make sure you press i after adjusting each setting.
- Throttle not working in certain modes → Verify that the Throttle option is set to “On” for the selected assist level.
- Bike feels weaker or slower than usual → Check that Set Current (A) matches the factory value listed in the default settings chart.
- Pedal assist feels jerky or delayed → Restore both Slow Start and Sensitivity to their default levels, then test again.
- Display stuck in setup screen → Use the “–” button to scroll down to Back < on each screen and press “i” repeatedly until you return to the main display.
FAQs
- Can I change these values for personal preference?
Yes. You can adjust them to fine-tune the bike’s feel, but higher torque or current settings may reduce range and increase motor wear. - Why are some modes limited to 20 mph?
Fit and Eco modes are optimized for efficiency and Class 2 compliance. Cargo, Sport, and Turbo allow Class 3 performance up to 28 mph. - My throttle doesn’t work after changing settings — is that normal?
Yes, if the Throttle option is set to “Off” for that assist level. Turn it back “On” and restart the display - Can I customize all riding modes?
Yes. Each mode (Fit, Eco, Cargo, Sport, Turbo) has independent settings. - Why does my display ask for a PIN at startup?
You enabled Set Password. Enter your 4-digit PIN or disable the feature.
Warning
⚠️ Important Safety & Liability Notice

These display settings are calibrated for safe and reliable operation. Changing torque or current parameters without proper knowledge can cause unpredictable motor behavior or excessive power draw.

Only modify display settings if instructed by a qualified MOD BIKES technician or authorized service provider.

Improper configuration may void warranty coverage and affect overall performance.